Shooting For Reference
You know that moment when you’re scrolling through Google Images, looking for the most well lit picture you can find to help you draw? Yeah, I hate that moment. Nothing is more limiting than feeling like you don’t have the proper references to make an awesome piece. So, I did what I should've done a long time ago and I decided to shoot my own reference.
Now, while this may seem like the obvious solution and a very simple task, I will say that a lot more went into it than I originally expected. I figured I’d share a few things that I’m glad I did.
I Bought a Great Camera
It’s pretty obvious that when the thought of shooting your own references comes to mind, the first picture taking device we think of is our cellphones. In the time we live in, we’ve been really lucky to have such amazing technology just sitting in our pockets, and I have probably taken advantage of the photo app more than anyone I know (I have over 5,000 pictures saved heh). I swore by the idea that my phone camera works just fine and if I need a good reference picture then I’ll just pull out Ol’ Reliable. I was wrong, obviously. The resolution on my photos was always just a little grainy and my phone couldn’t capture the lighting or the color intensity that I wanted.
I decided to invest in a Sony Alpha a6000 Mirrorless Camera. The camera is beginner friendly and has a simple interface. I chose this camera because it’s lightweight and the mirrorless feature eliminates a chance of photo disruption. My pictures came out with great detail and it made the overall experience more professional for both me and my model. Asking someone to shoot as your reference with your phone camera = creepy. Asking someone to shoot as your reference on an actual camera = you look like you know what you’re doing (even if you don’t shhh!). Not only did it really help during the session, but it’ll come in handy further down the line when it comes to photographing my work or capturing leisurely time with my loved ones. So first things first, invest in a good camera.

My Sony P. Sherman 42 Wallaby Way, Sydney
2. I used Fixed Lighting
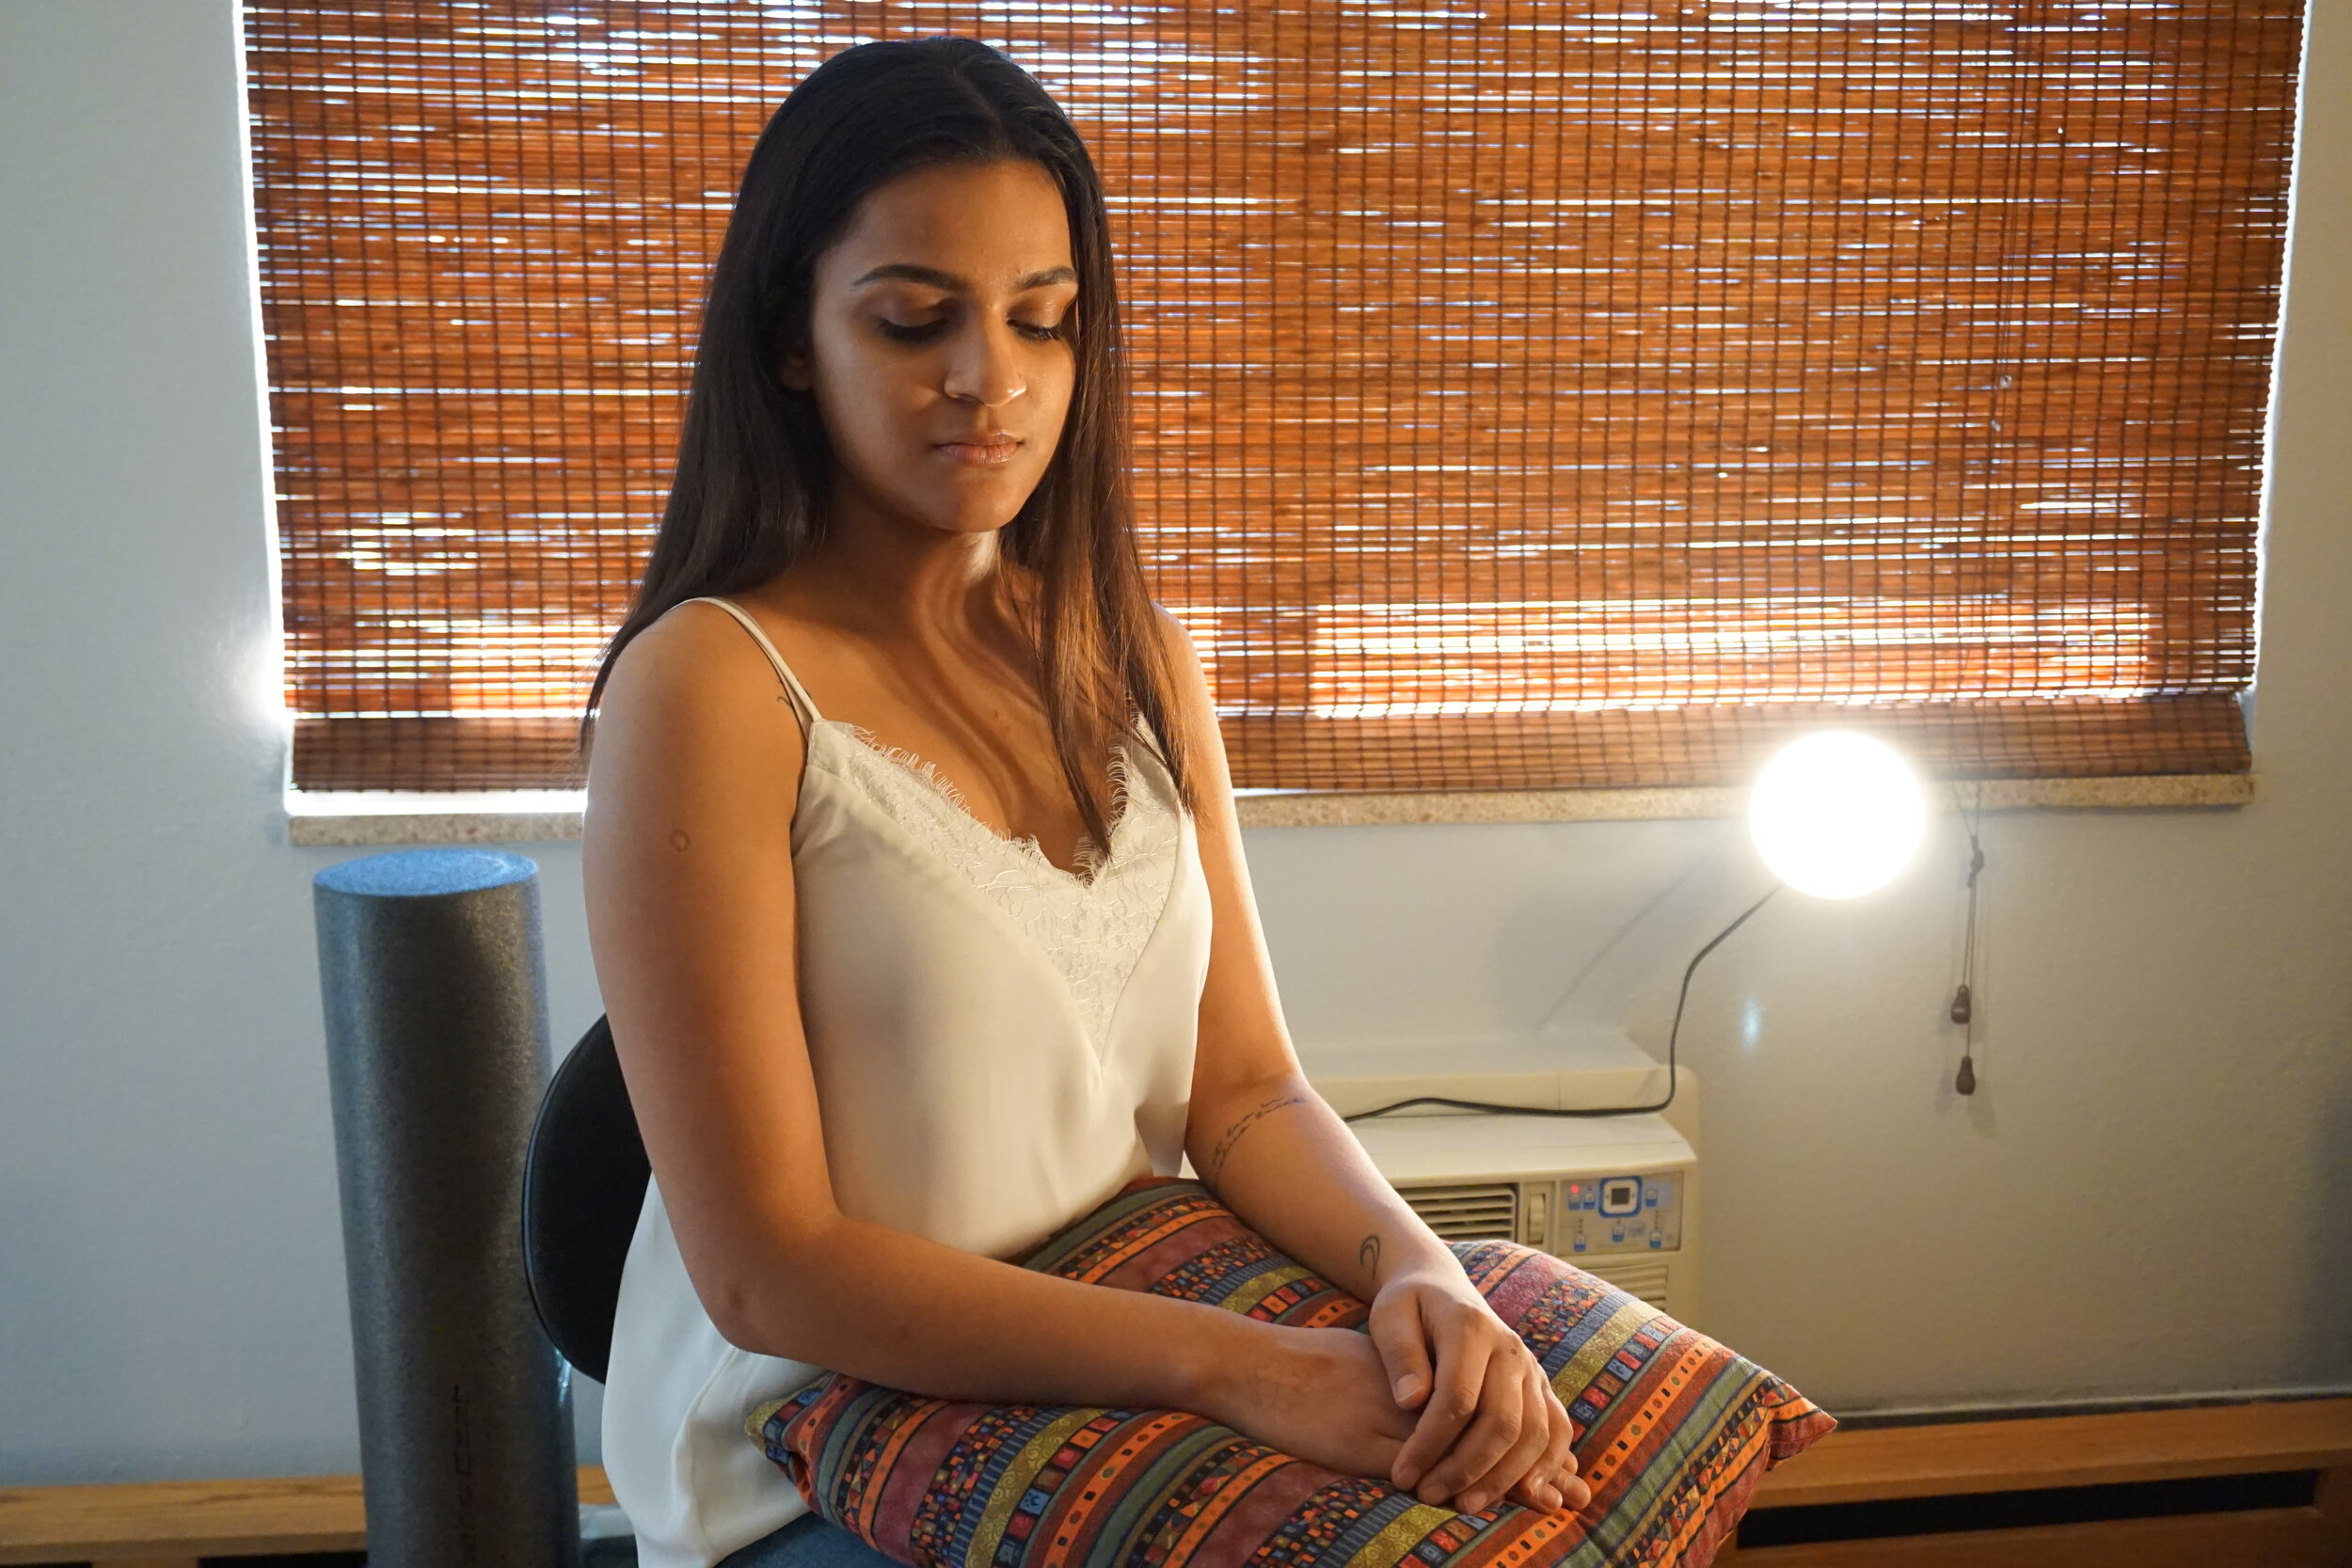
Thinking about lighting is something that is really overlooked in a lot of artists’ pieces when they first start creating. If you don’t have proper lighting, a piece can be painted beautifully but still have wonky areas. In some reference pictures, the lighting can actually be working against you and you’ll end up with a fairly confusing piece. Because of these issues, I decided to set up my own lighting. This gave me the upper hand because I was able to create a mood. I used clamp lights from Home Depot, they were probably no more than $5 a piece. This allowed me to clamp lighting onto whatever I needed to in my small apartment and point the lighting to wherever I wanted. I was able to get dramatic shadows and highlights where I wanted them. This helped because now the painting will be more identifiable and my form won’t be so ambiguous.

Clamp Light
3. I Involved My Model in Every Step
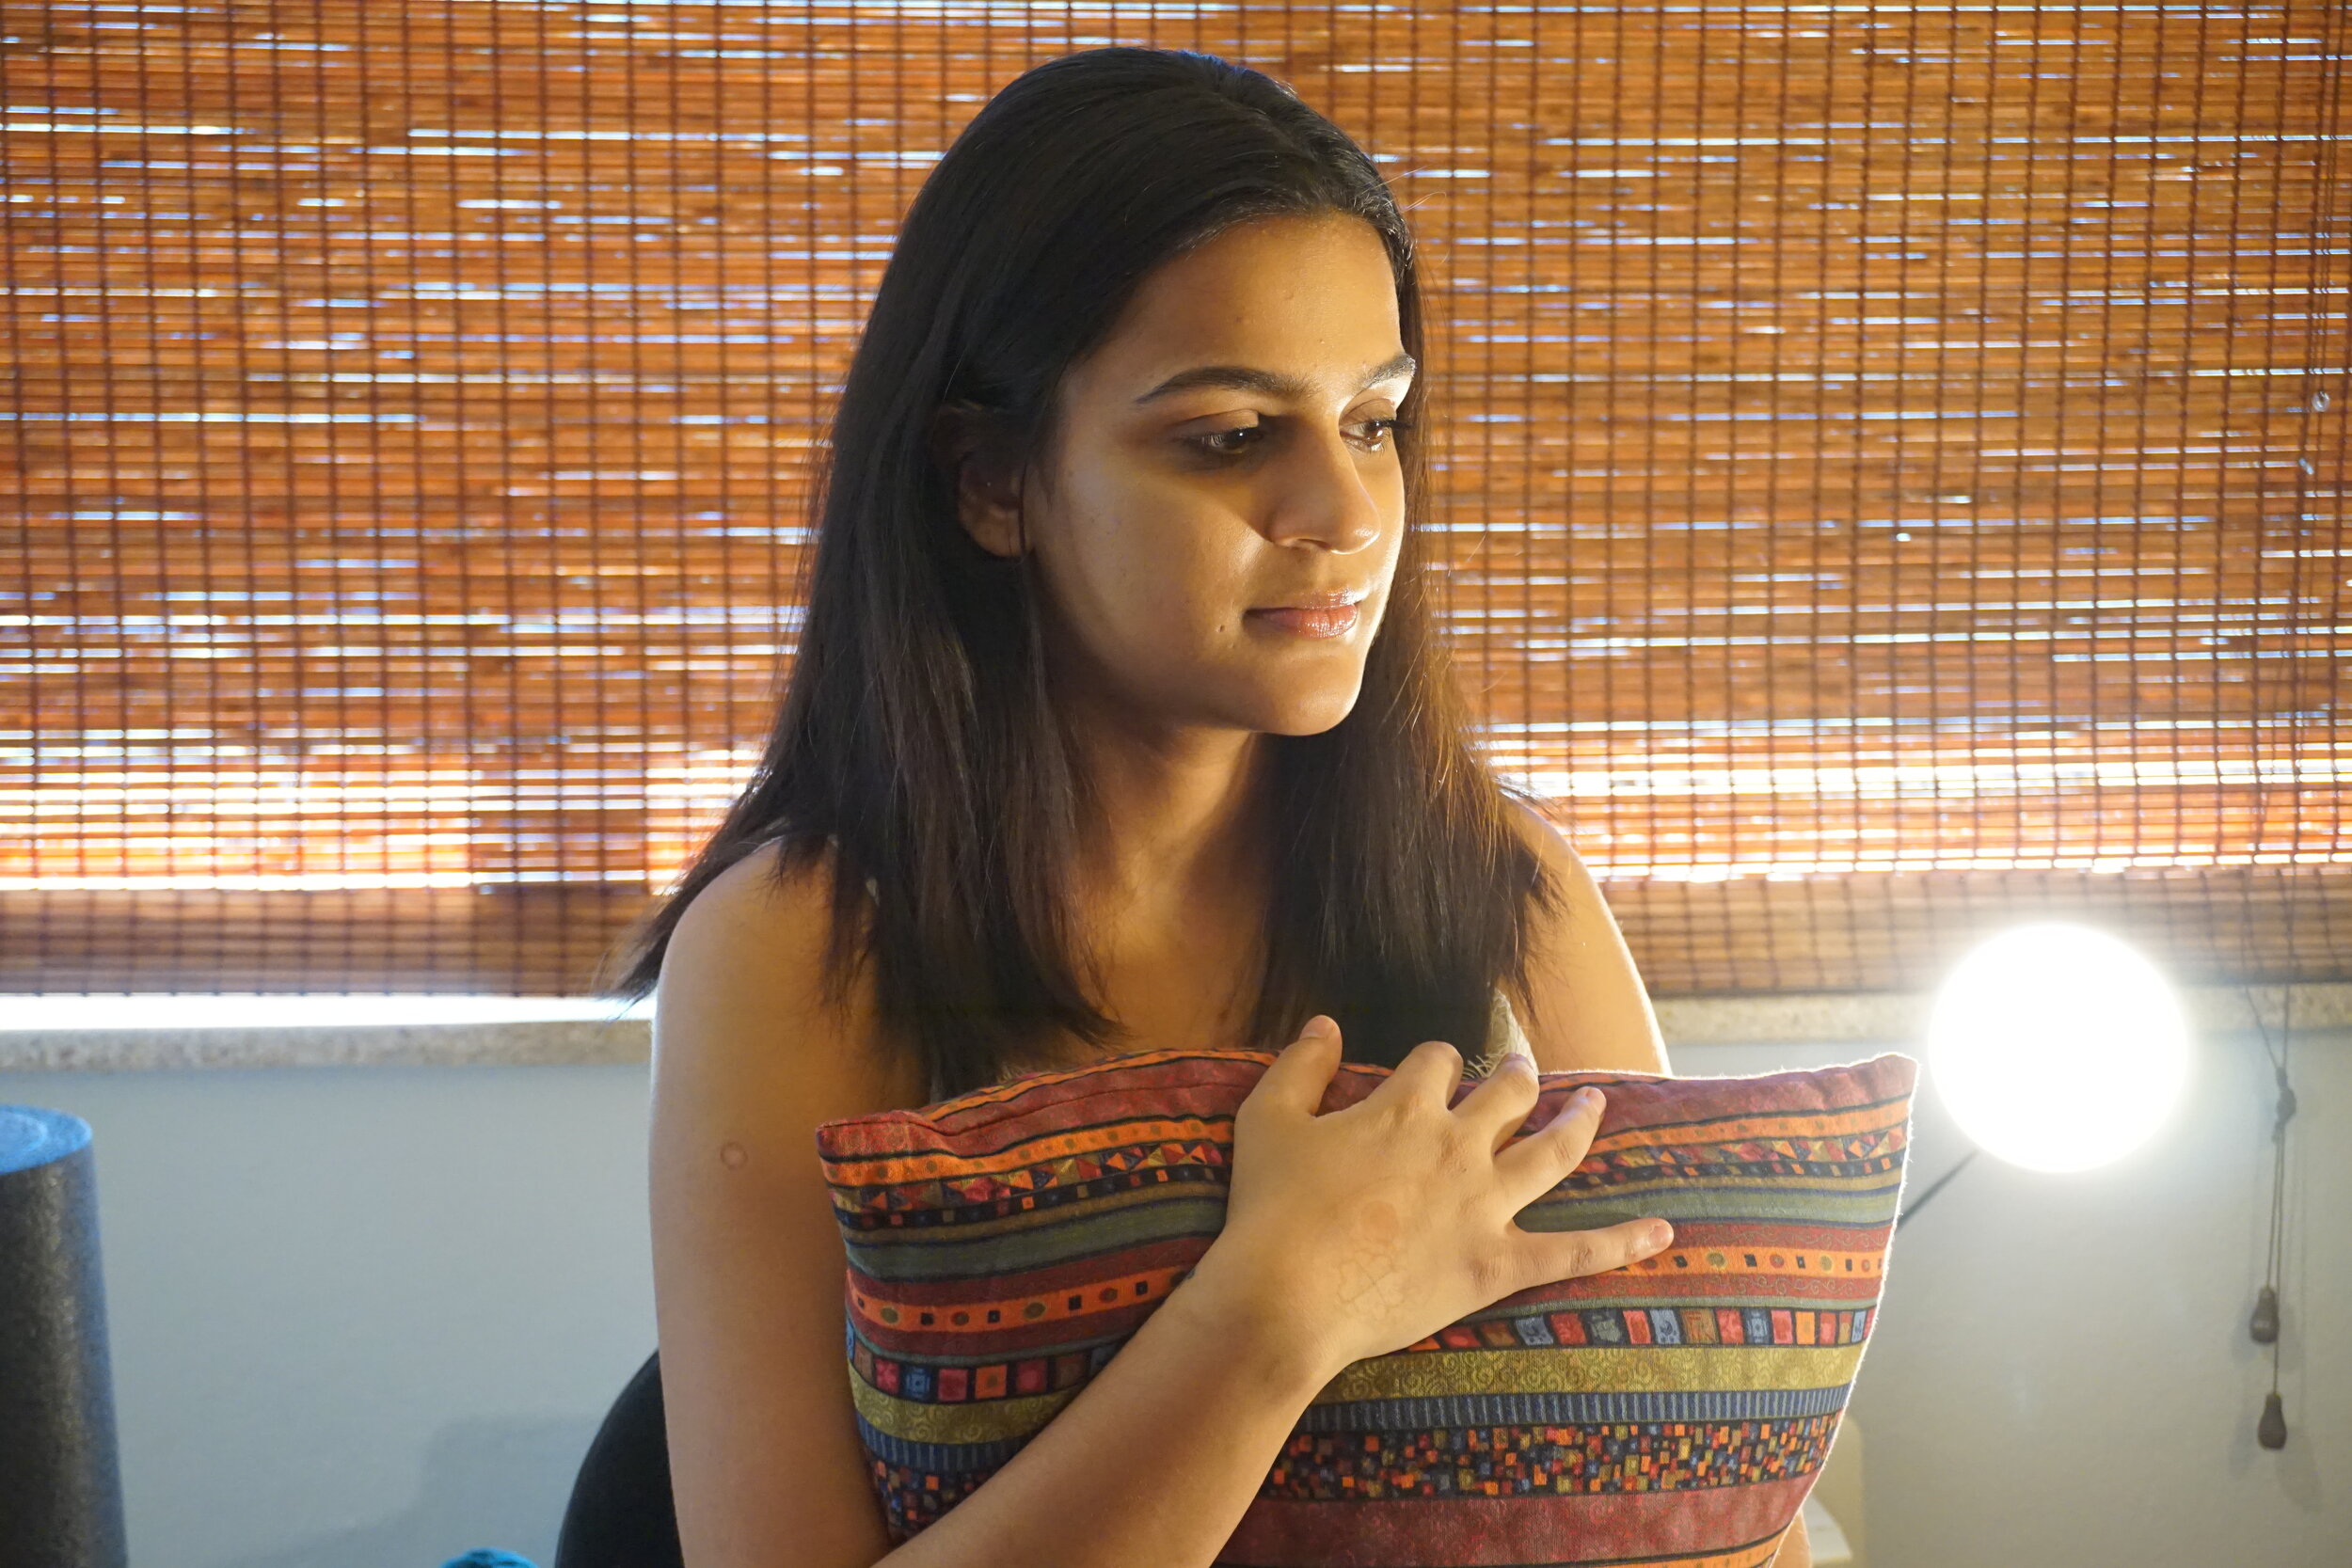
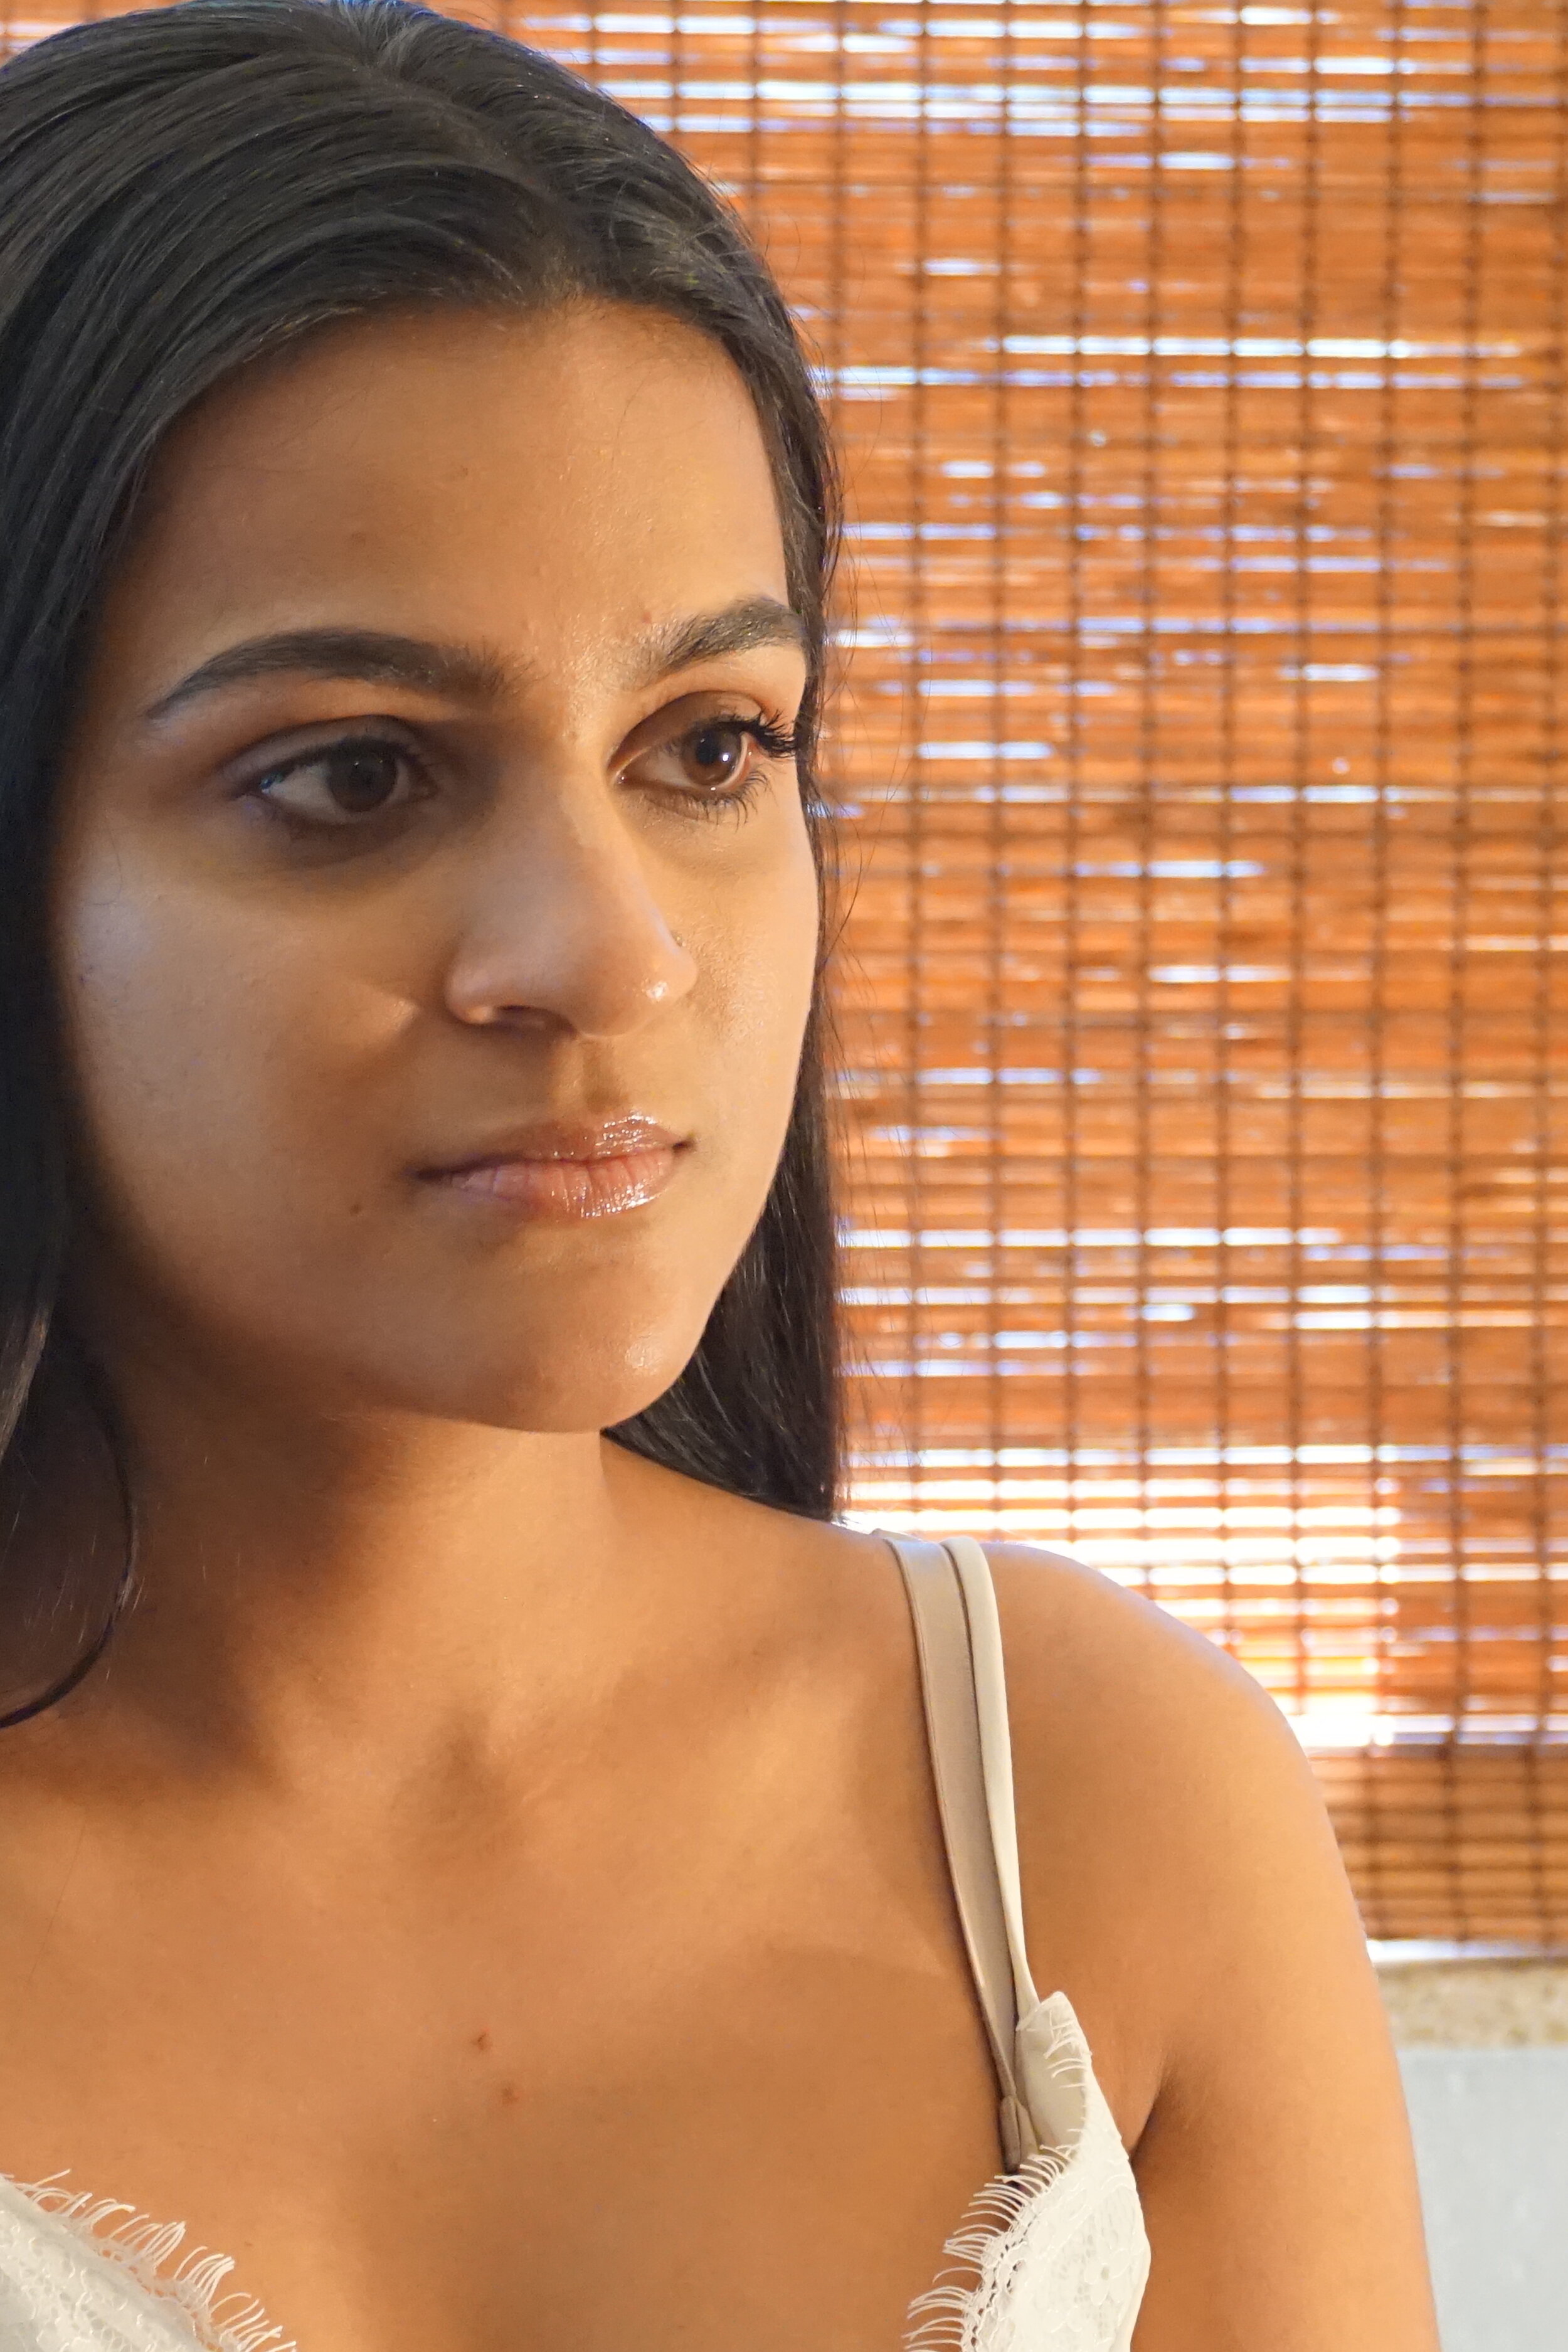
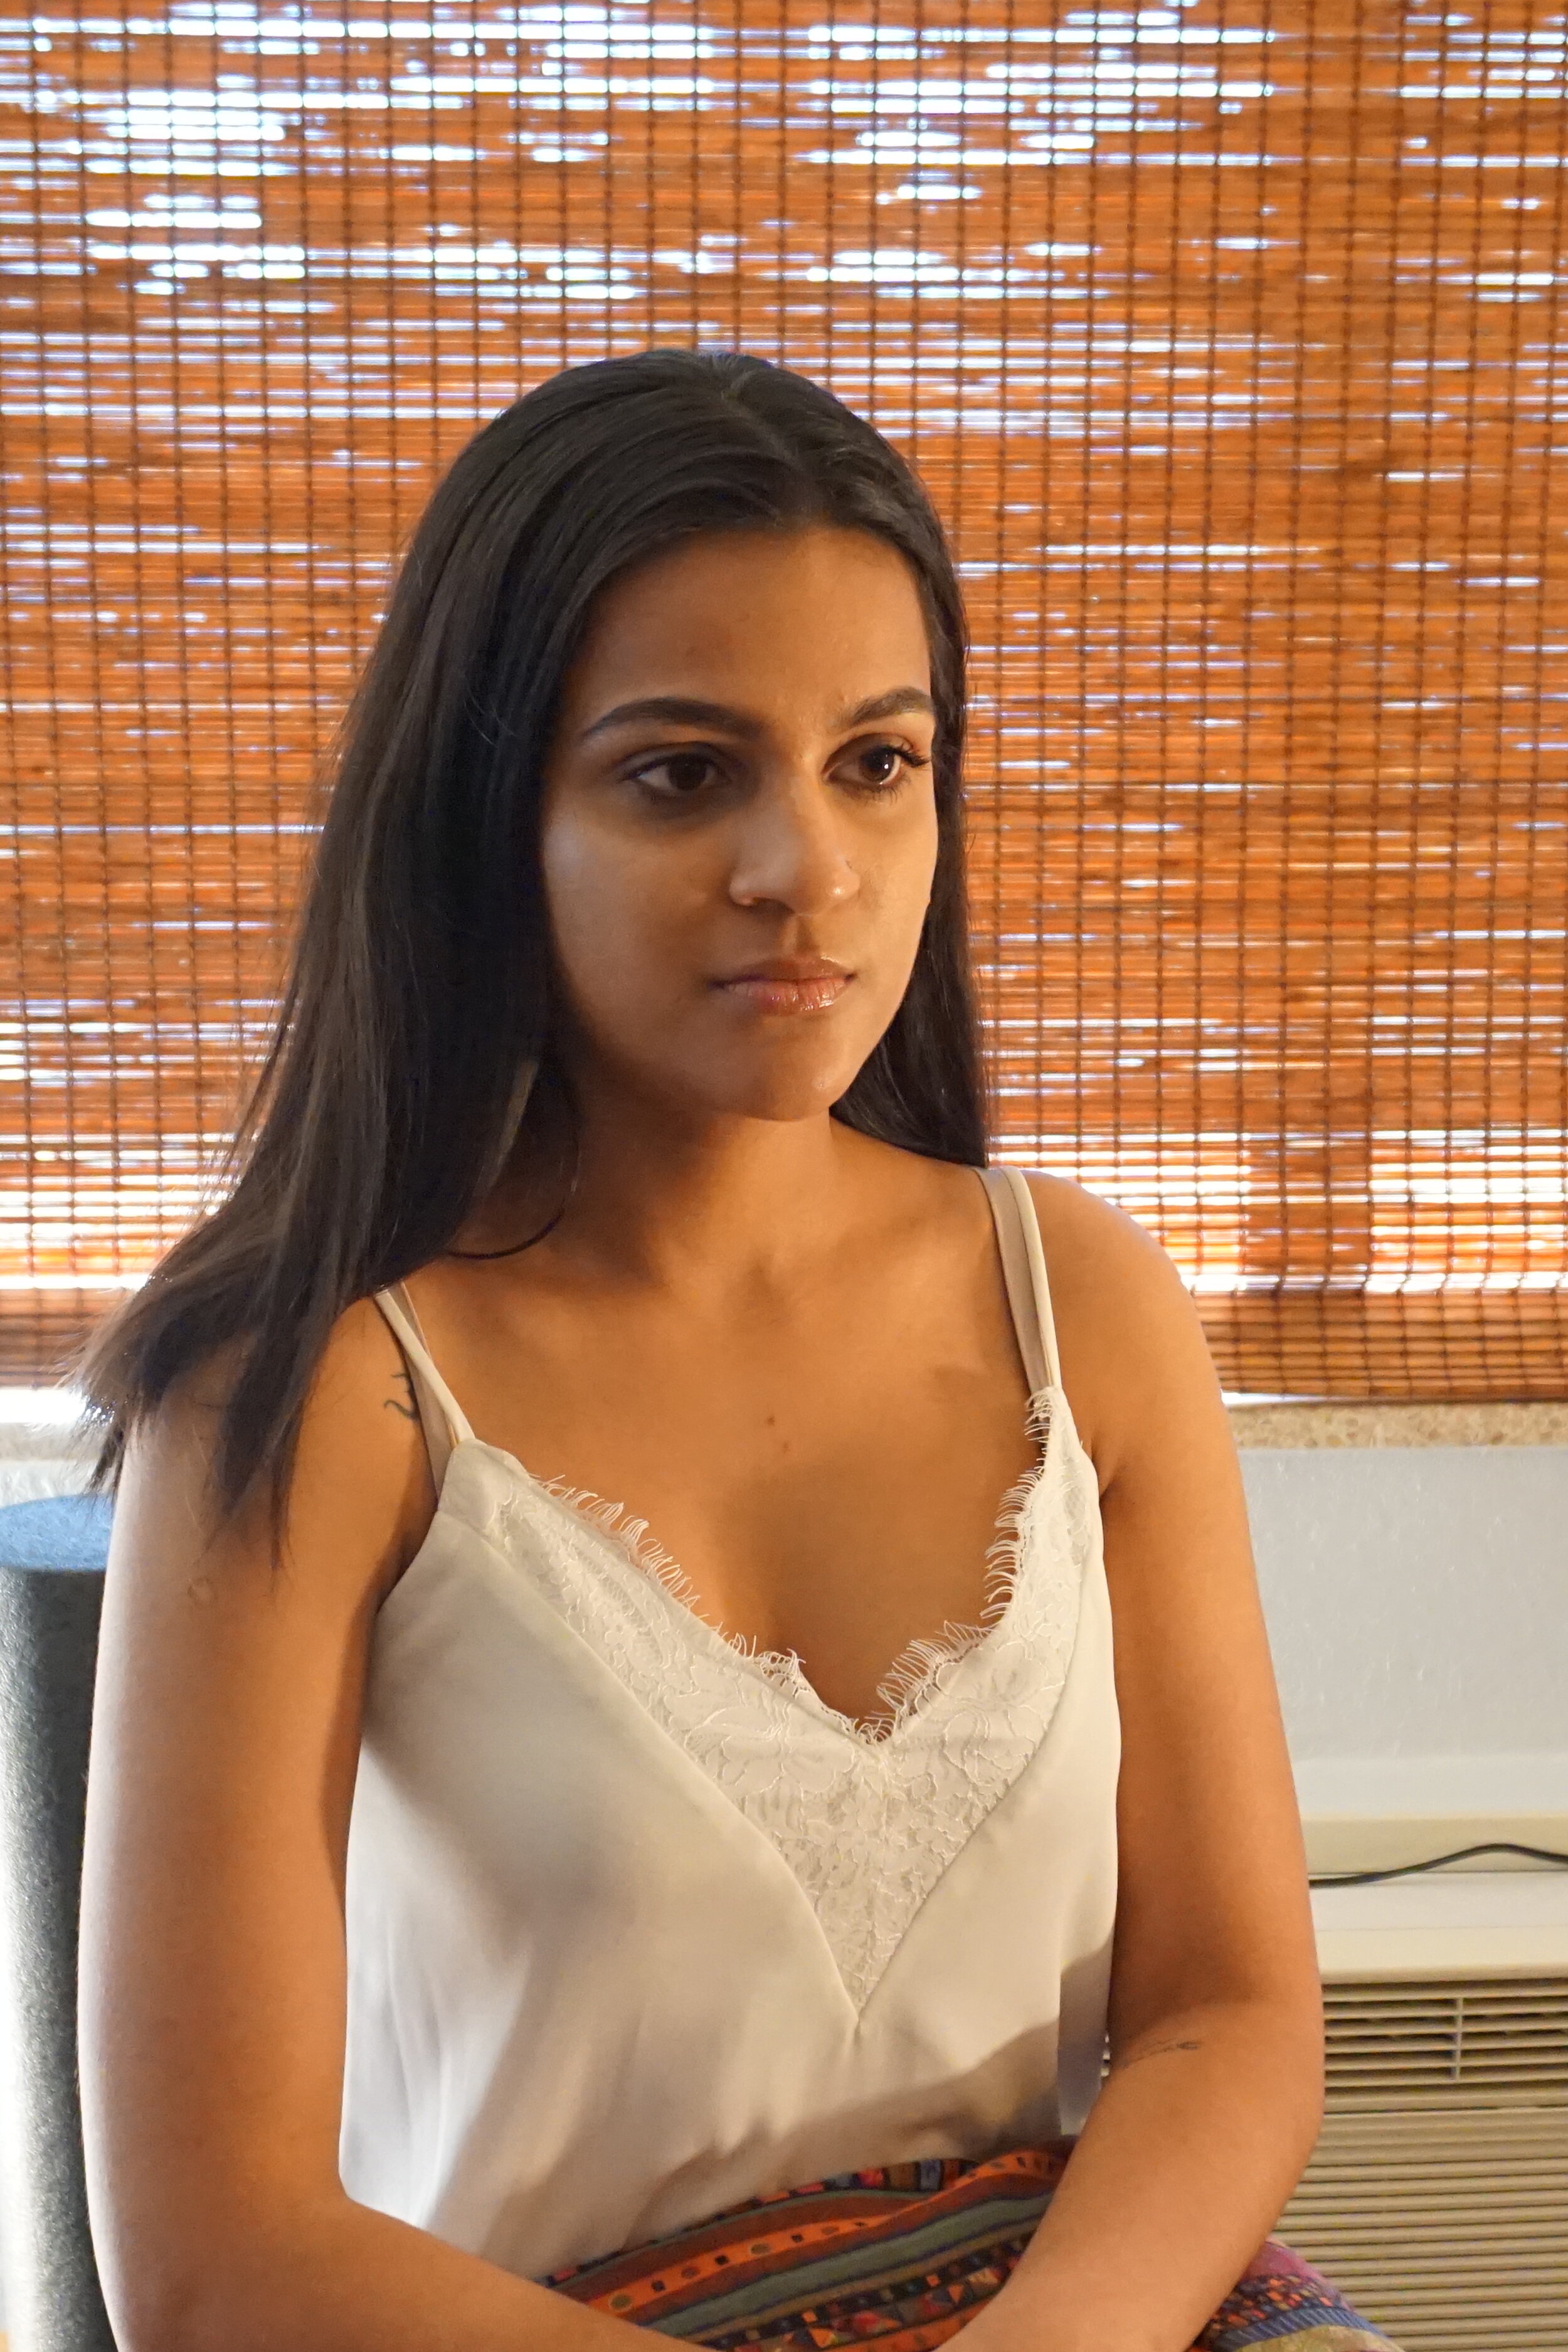
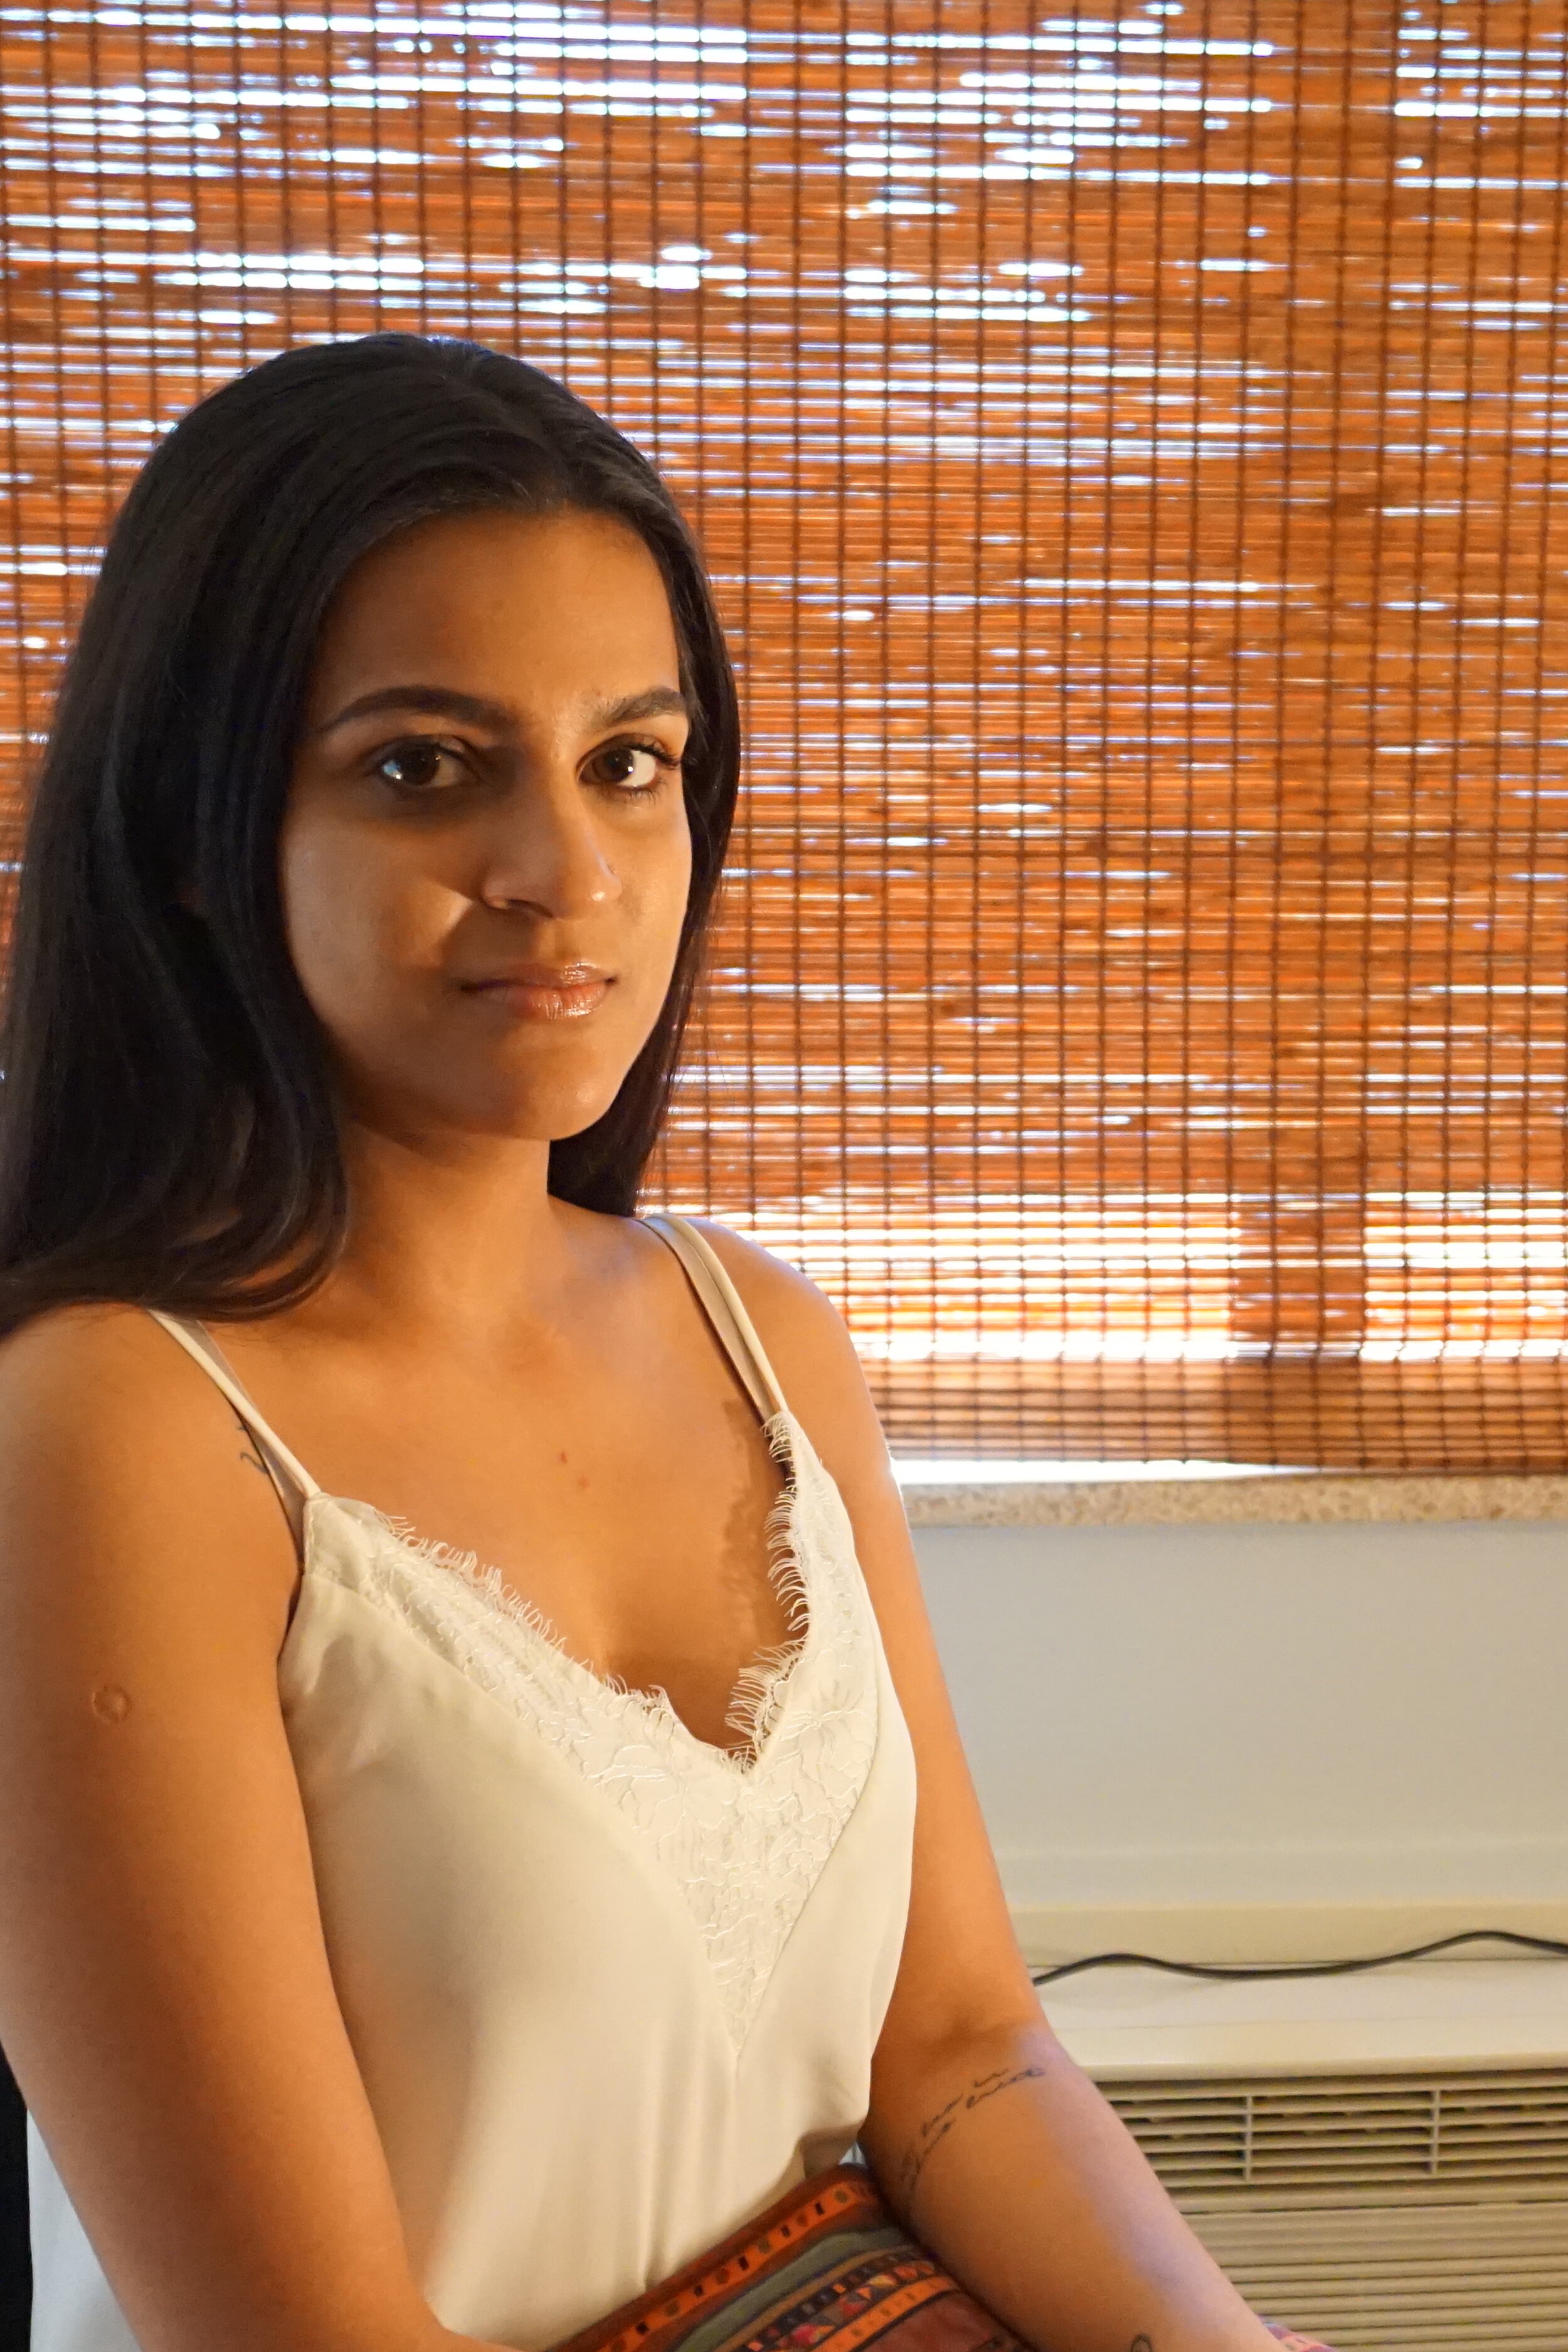
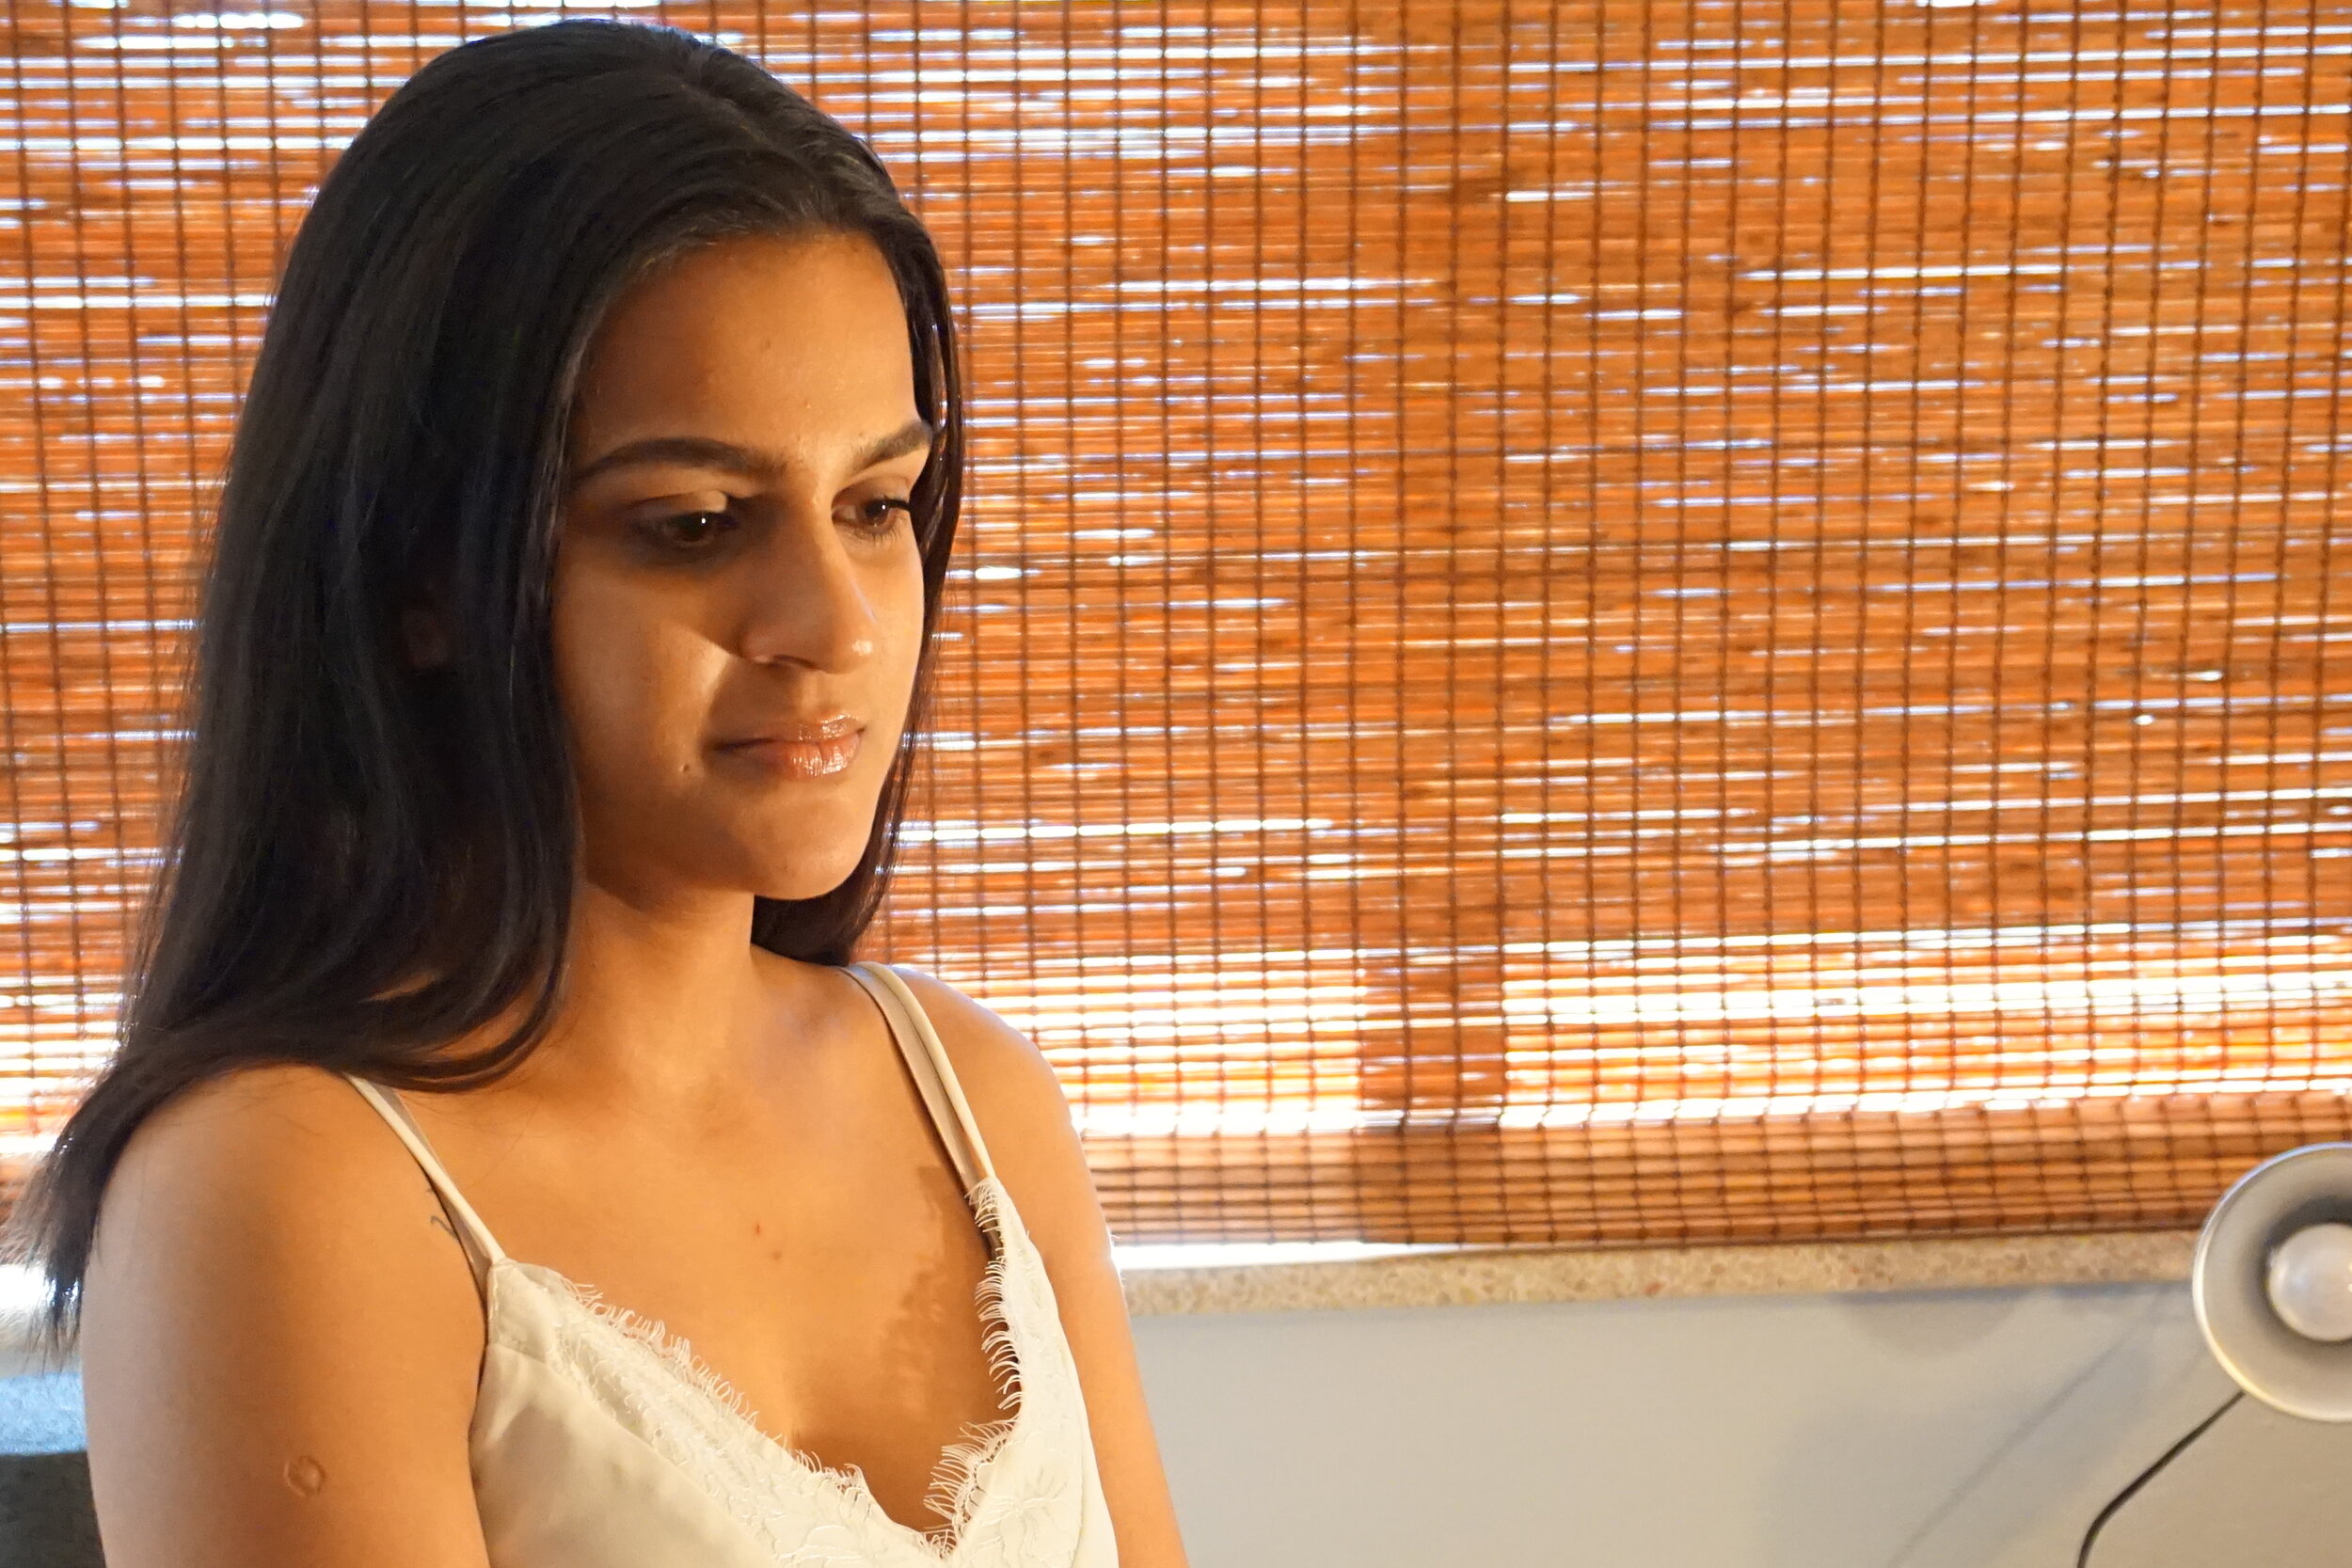
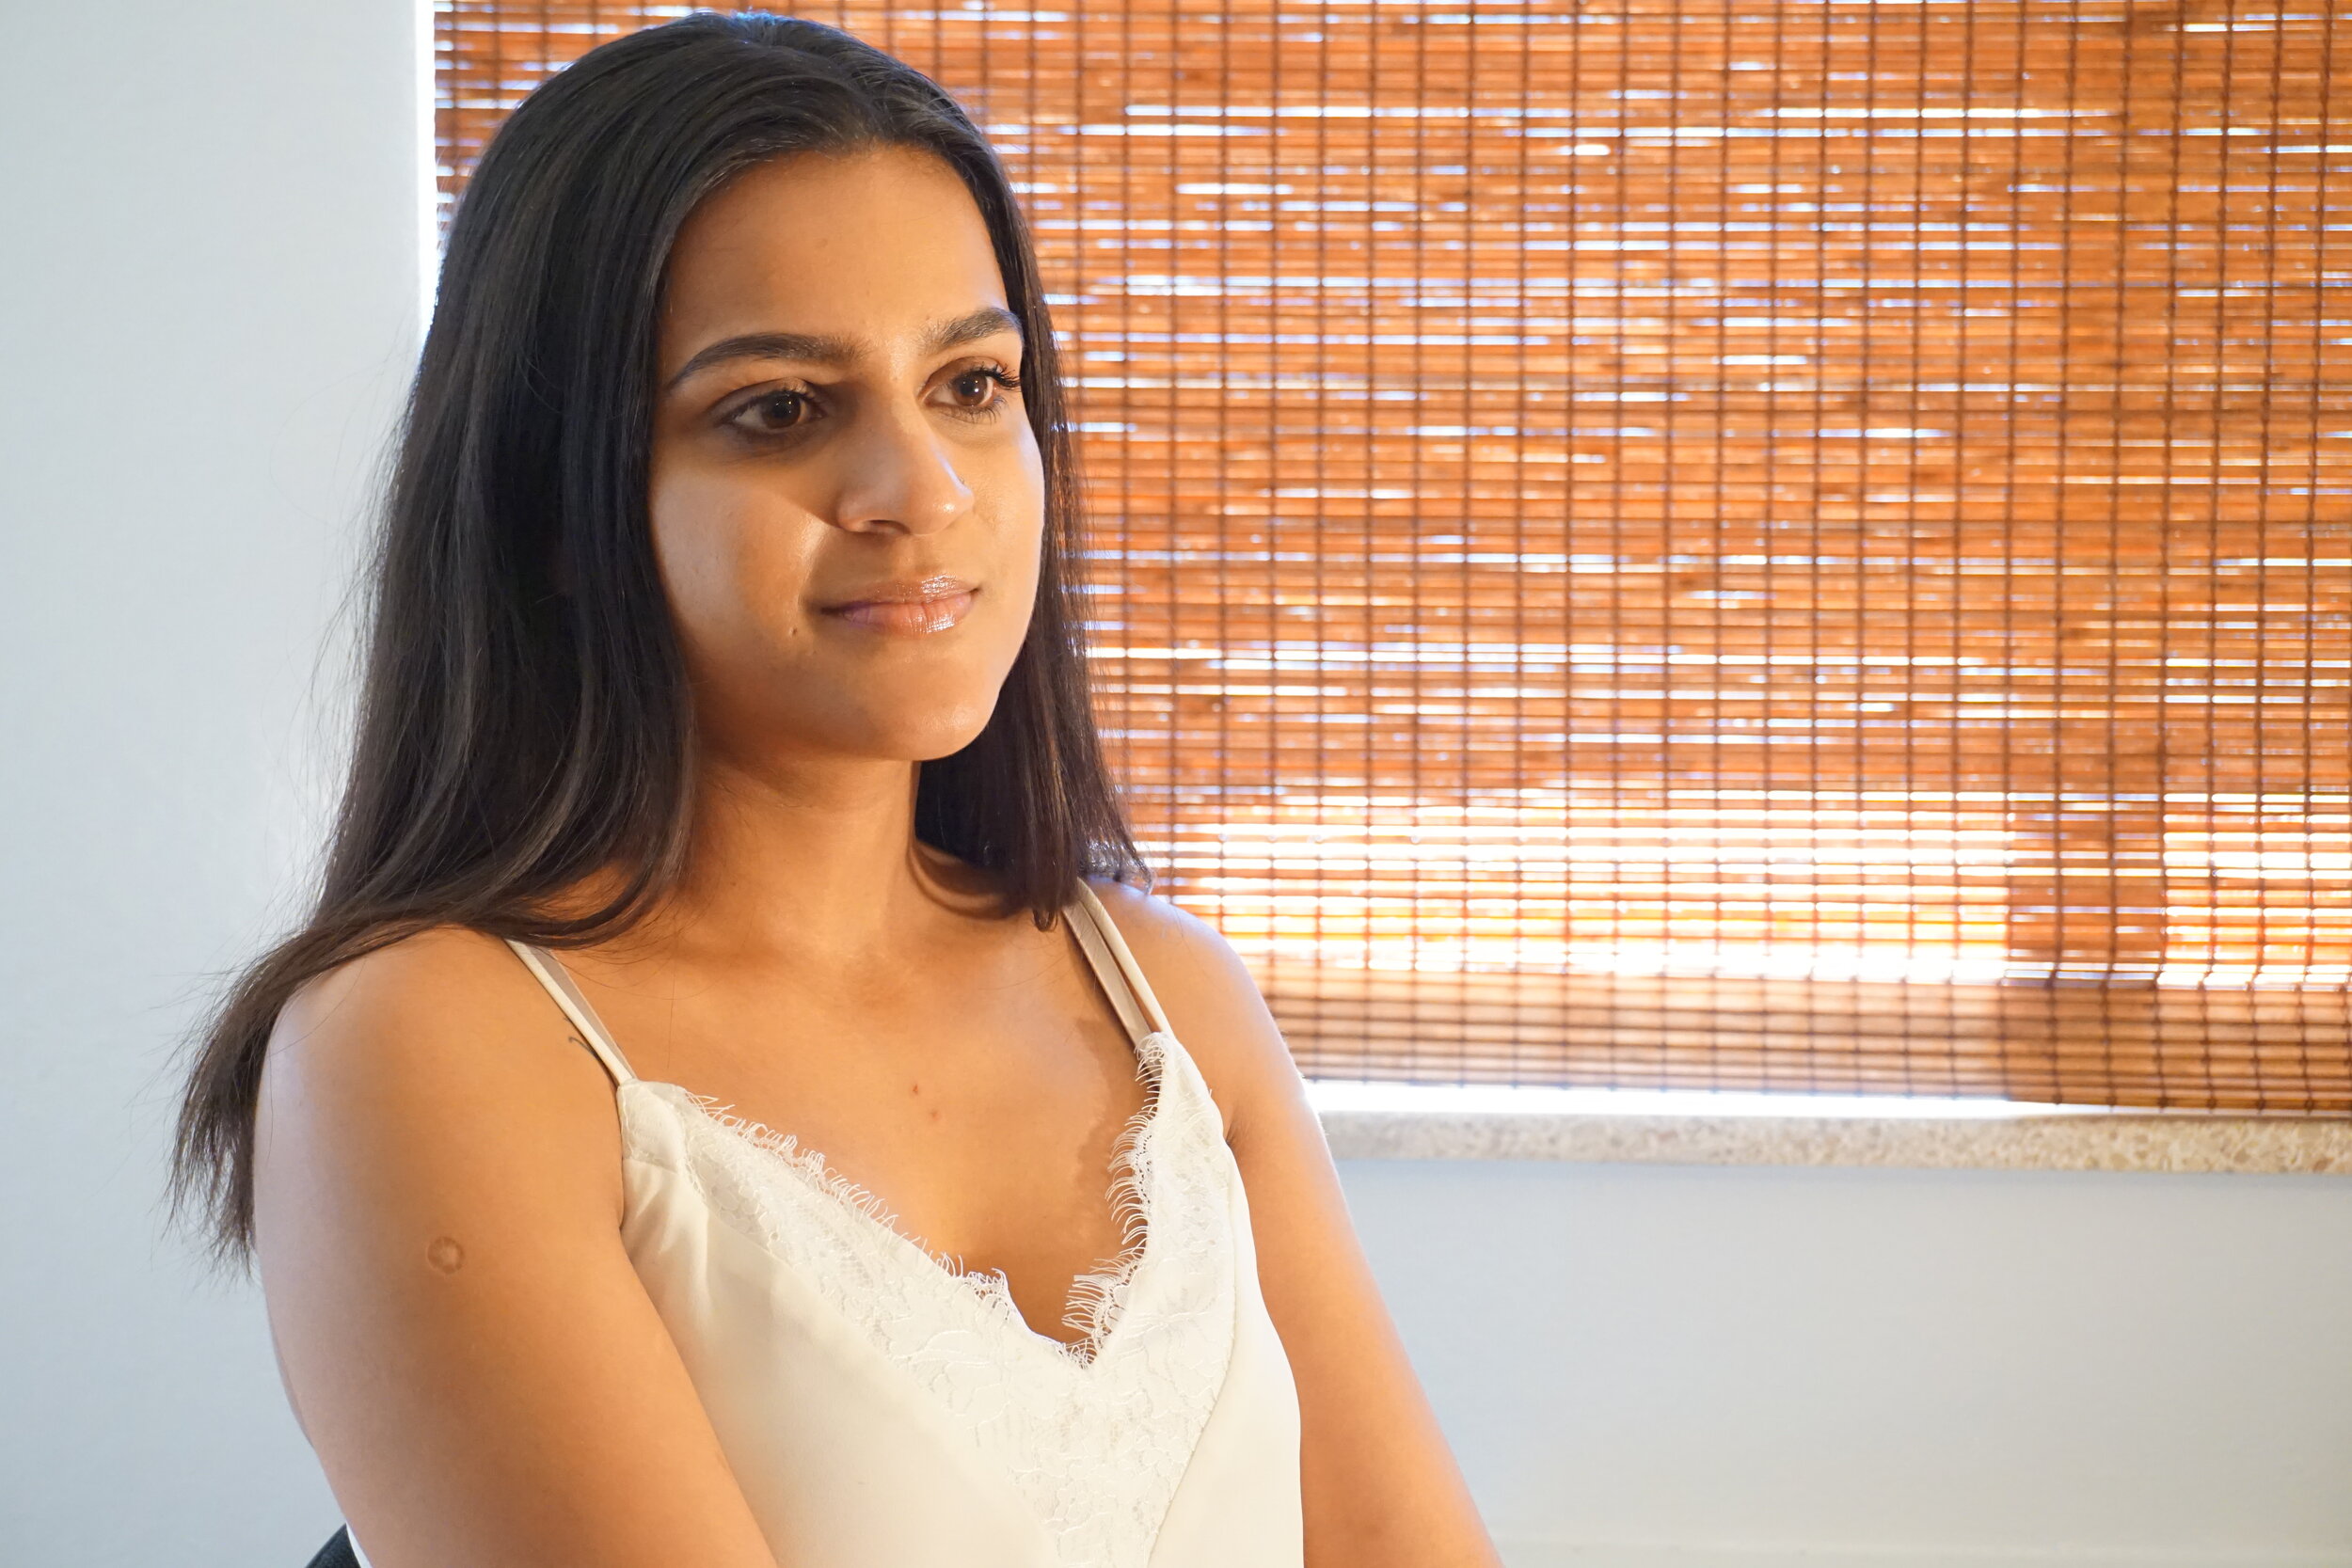
One of the most daunting tasks is actually going up to someone and saying “Hi! Do you mind if I take reference pictures of you for a painting?” I can’t exactly explain why that is, but it is. I decided to ask someone that I knew fairly well, but that was still a bit intimidating considering we were coworkers. Luckily for me, she was very open to it and excited! So crisis one: averted, I found a willing person. The next step was actually shooting her and making sure she felt comfortable in the space and behind the camera. I had no idea how to do that, but I decided to improvise.
She came over and I decided to let her watch me set everything up, so that she felt comfortable with what was going on around her and she knew what everything was. While I did that, we talked casually about things we both had in common: our day, our job, and our family/ relationships. I believe that helped her to become more comfortable in the space. Once we started shooting I could tell that she was a little nervous, probably more for my sake than hers so I offered positive feedback. We also joked about a few of the shots and it made both her and I more comfortable working together. After the first round of shooting we looked at pictures together and she even helped me with the technology, and it made it feel more like a project for us both. After that, both of us were acclimated to working with one another and the rest of the shoot went very smoothly. Being open to help, and critique really benefitted the experience for us both and made the shoot go surprisingly well.
The best part of shooting my own reference for the first time is that, I actually did it! Nothing feels more accomplishing than doing something for the first time. Now, I have a little bit more knowledge of what I should and should not do when it comes to my next shoot. I hope these tips help. Scroll back up to the top to see the pictures I took!